


The Boat Guy: Wheel Drive Auto Pilot – Simple Maintenance Steps Part 2- Marc Continues Rebuilding
October 22, 2026
Part 1 of this article can be found here
As we discussed last issue, whether you’re a sailor or a power boater, having a reliable autopilot available onboard is truly a great thing, providing you some opportunities to rest your arms and/or eat while under way whilst keeping an eye on things. So, when something doesn’t feel quite right, don’t wait. Executing some easy preventative maintenance on a regular basis is not only a cost saving measure but will give you back the confidence you once had in your auto pilot system. And doing so well before things start to break, as I’ve seen many times while researching this subject, is really both a great time and money saver.
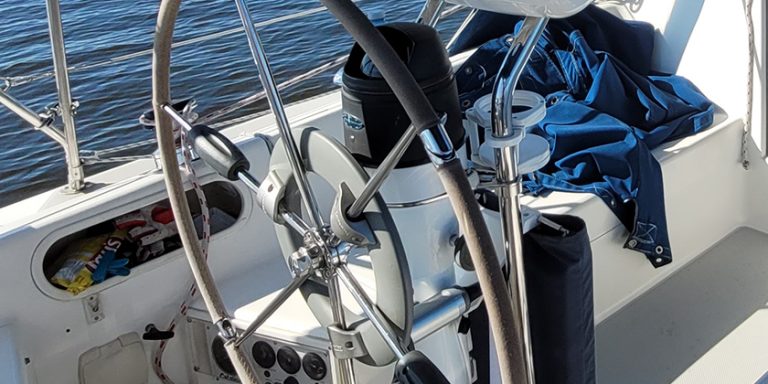
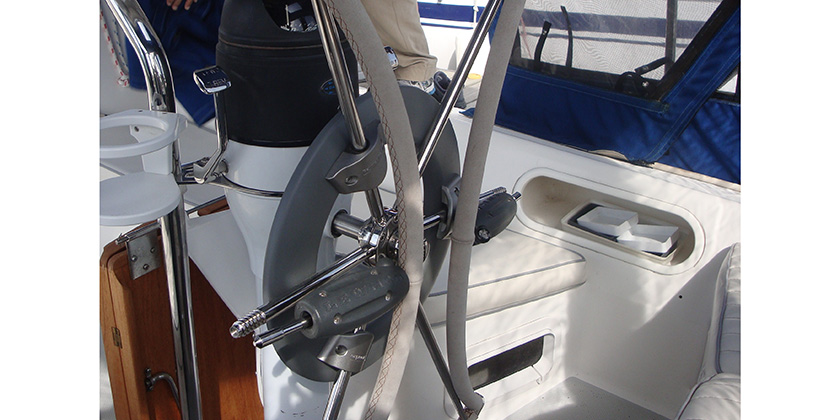
My auto pilot is a Raymarine TS4000+ Autohelm with SeaTalk links. Although I have a sailboat, the same unit has been a very popular choice for power boats with a wheel type steering, such as large cruisers and trawlers so, this article definitely applies.
Removal of the front half of the drive off the wheel was absolutely essential in order to be able to reassemble the whole unit and provide the opportunity to clean every part in fresh water. The bearings were put inside a plastic container with soapy dish water and shaken, then laid onto a towel to dry. All the other components were cleaned under running fresh water only.
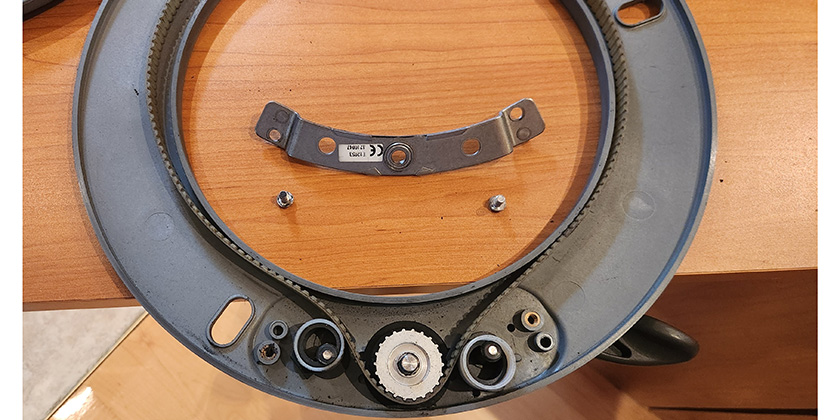
IMPORTANT NOTE: Do not use any solvent or detergent while cleaning. Although a sponge, old toothbrush and fresh water is enough, if using soap is necessary, use a mild liquid dish soap and rinse thoroughly. Also, very important, DO NOT USE ANY KIND OF LUBRICATION.
After cleaning and drying everything, now came time to reassemble the ball bearing races. This did require some steady hands and patience. With the retainer plate and drive belt removed, each of the three bearing retainer race strips are put in place, adding the ball bearings, one at a time, in each designated cavity.
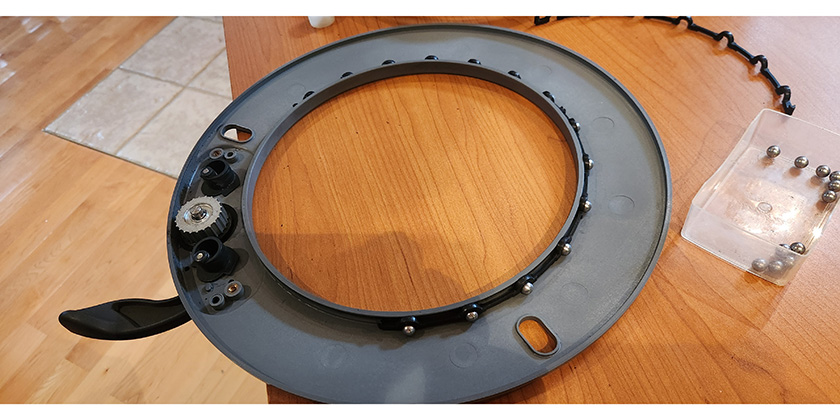
Once each race is in place, the large black retainer ring must be gently snapped into place.
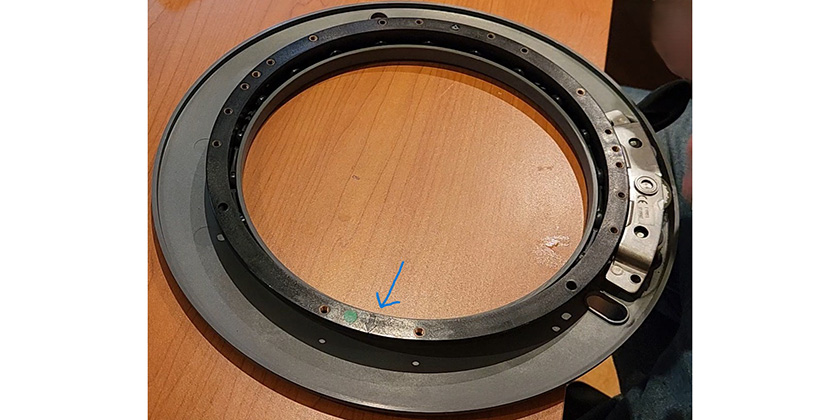
The belt, tensioning and engage cams are next to be installed, followed by the retainer plate and the infamous, screws. Lastly, both halves of the drive are snapped back together using arrows, embedded into the components, to indicate where they align.
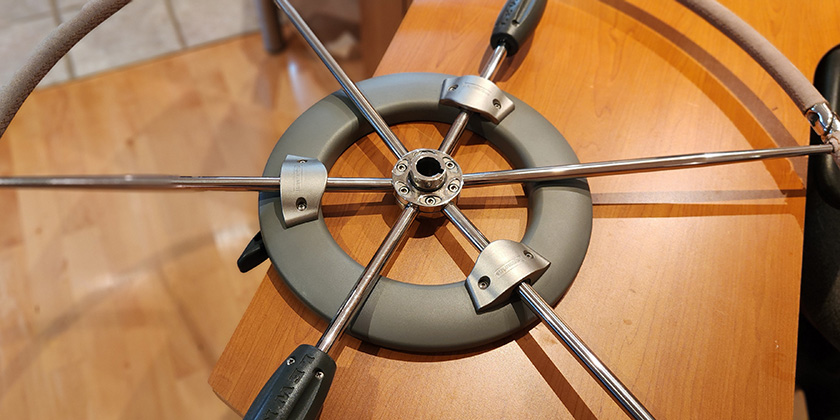
One thing I think is well worth mentioning, are the two oblong holes on the front half of the unit. These are fresh water rinsing ports. If you’re in fresh water, you should spray some water in these anytime you happen to be washing the boat with a hose. Simply water inside these ports while rotating the wheel a few times.
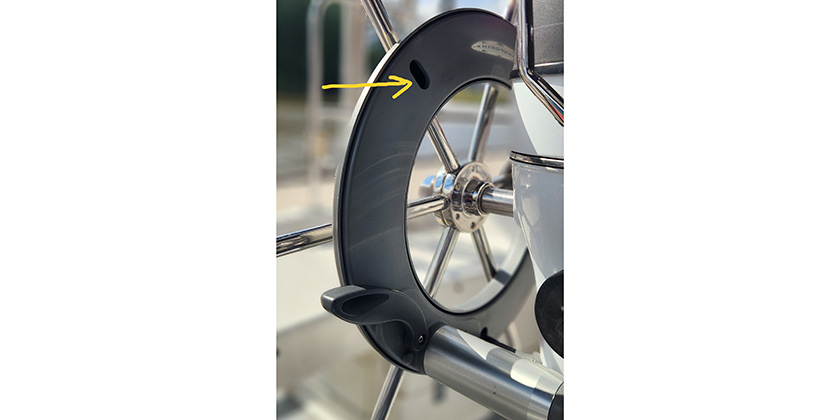
If, however, you are in saltwater environment, it is highly recommended you rinse the drive as often as you rinse all your other components to reduce the abrasive effects of salt on all moving components.
Once the servicing and maintenance was completed, I was amazed at how much better the performance was. No more noise from the loose screw, no more swishing sound from the dirt and dust grinding away and the performance is back to new. Best of all, however, is that the auto tack function is now reliable and a pleasure to use again.
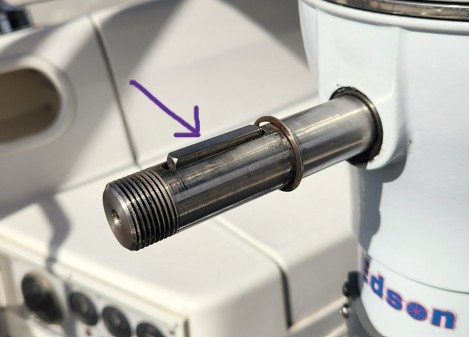
One last note or warning for those that may have never removed their wheel. Be careful removing the wheel as there is ‘key’ that can easily fall out and get lost. When removing the wheel, it should be on the
Here a YouTube link to see how the author undertook this simple yet effective process: Wheel Drive Auto Pilot Maintenance
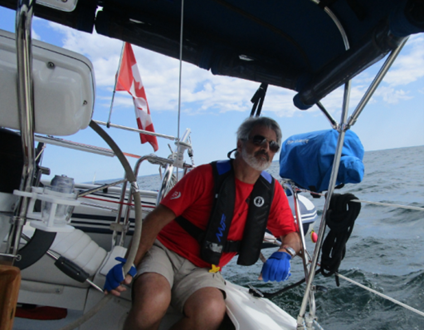
Marc Robic – The Boat Guy – Marc is a member of BoatCan who, with his wife, sails their Catalina 270, Aquaholic 3, out of the Ile-Perrot Yacht Club in Montreal, where Marc spent 16 years as Harbour Master. They are also regular Caribbean bareboat yacht charterers.
With over 40-years experience on boats, Marc is our OnBoard do-it-yourselfer.