It’s Not Easy Being Green
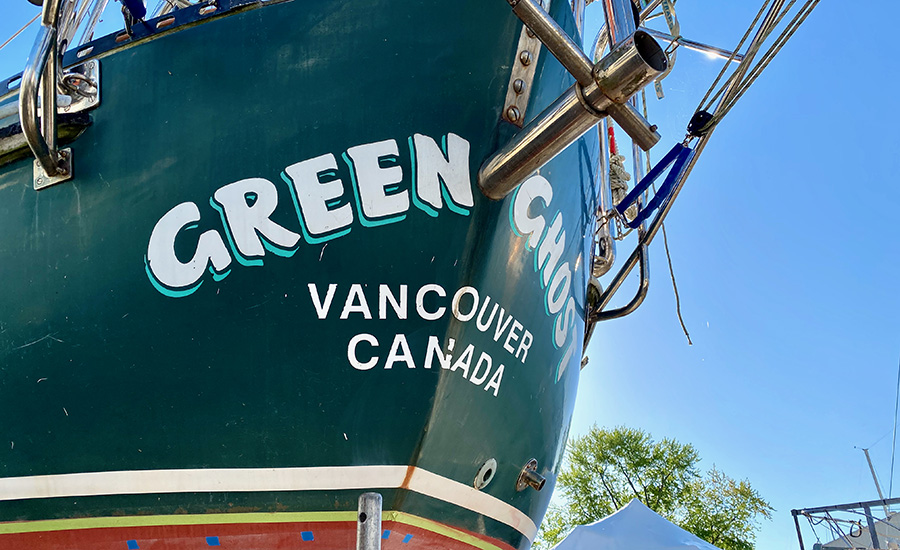
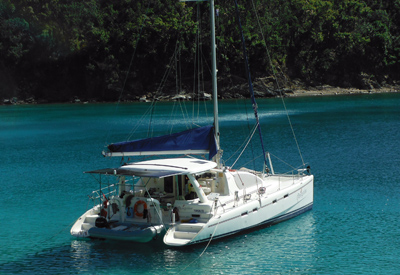
Kermit the Frog lamented that his complexion made him too ordinary. On the contrary, our green sailboat always made us feel distinctive amidst fleets of white-hulled boats.
by Jennifer M. Smith, author of Green Ghost, Blue Ocean
DIY topsides paint job: an old girl gets a new look
Kermit the Frog lamented that his complexion made him too ordinary. On the contrary, our green sailboat always made us feel distinctive amidst fleets of white-hulled boats. But owning a green-hulled boat does have its drawbacks. Some sailors hold a superstition that green boats are unlucky and sure to run aground. More scientifically, dark-coloured hulls absorb heat. In tropical climates and hot summers, our boat warmed up quickly causing added power consumption due to the ongoing use of fans and the extra demands on refrigeration. Dark paint over lighter primer shows every chip and scratch, and dried salt on a dark hull is equally visible.
We’re not superstitious, but, when we determined it was time to re-do the twenty-year-old topsides paint on Green Ghost, we made a radical decision: we decided to paint her white. We also decided to do it ourselves.
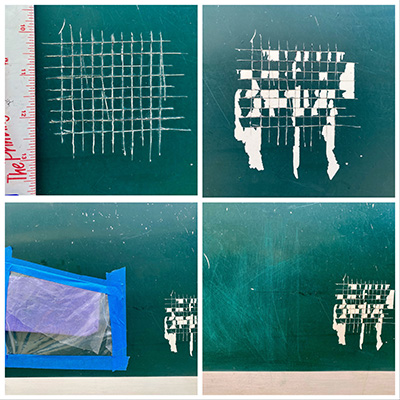 We ordered ALEXSEAL products through St. Clair Marine, in LaSalle, ON. We downloaded the manufacturer’s professional application guide and read it cover to cover. They do not encourage DIY application, but we’d been inspired by Andy Miller’s Boatworks Today YouTube channel, and we were confident we could achieve a suitable result.
Top Left: Crosshatch pattern in existing paint.
Top Right: Solvent test start.
Bottom Left: Adhesion test fail.
Bottom Right: Solvent test pass.
To begin, I scraped off the boat name with a razor blade and the old green paint lifted along with the vinyl lettering, suggesting poor cohesion. Adherence was further tested by cutting a crosshatch pattern in the existing paint, applying duct tape firmly, and pulling it off quickly. Again, in places, the green paint peeled off indicating the hull would have to be heavily sanded to achieve a stable surface.
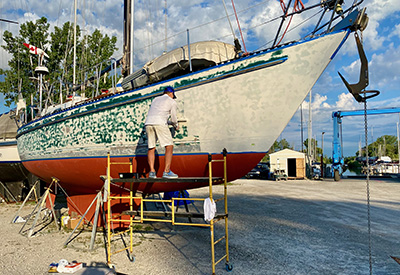
The topsides were thoroughly wiped down with degreaser/dewaxer to remove all contaminants. Then, we began the long process of sanding using a rented Mirka dust extractor equipped with a random orbital sander and Abranet 150-grit sanding disks. The dustless sander was a key piece of equipment ensuring no harm to the environment or to ourselves. Nevertheless, we wore tight-fitting respirators for every aspect of the job.
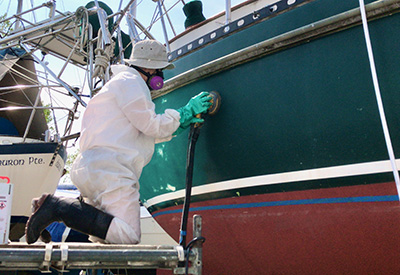 As we sanded, we closely inspected the hull, identifying nicks and gouges to be repaired with fairing compound using a fast converter to reduce drying time. We made several passes with the sander and did several rounds of scratch repairs before achieving a perfectly smooth stable substrate.
Kneeling on rented scaffolding, wearing a well-fitted respirator, sanding begins.
Sanding dust was removed by cleaning with a mild solvent and the surface was gently wiped with a tack cloth before the application of epoxy-based finish primer.
We used solvent-resistant natural bristle brushes and short nap mohair rollers with a phenolic core designed specifically for use with urethane and epoxy products. We were careful to ensure there was no debris on the brush or rollers that could transfer into the primer coating. We always had a spare brush and roller ready in case the one in use became contaminated. A brush spinner was handy for clean-up and allowed repeated use of the same expensive badger-hair brush.
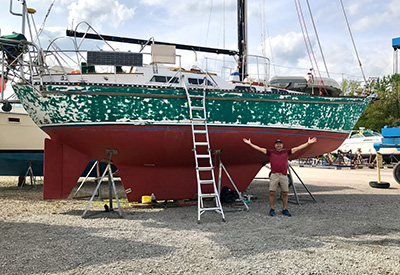 We chose our weather window carefully and applied two, and in some places three, coats of primer to achieve a surface of consistent colour. By recoating within the 24-hour maximum dry time, we avoided sanding between coats, but there was still considerable sanding to be done. Our roll-on application resulted in a notable orange-peel texture which had to be sanded back to a smooth surface.
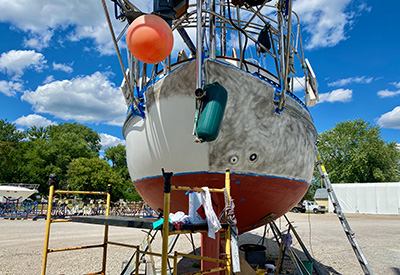
Starboard side after a second pass with the sander.
To assist in sanding, we applied a dry black guide coat. Sanding the primer with 320-grit took considerable time, requiring several passes with the orbital sander before a perfectly smooth surface was re-created.
In a nod to the former colour and the boat’s name, we decided to paint a green stripe between the toe rail and rub rail. Tackling this first meant any drips below the rub rail could be cleaned up readily. Besides, an initial attempt on this small area allowed us to practice our topcoat rolling technique before taking on the rest of the hull.
 After another wipe down with mild solvent, followed by a light going-over with a tack cloth, we painted the stripe with two-part polyurethane-based ALEXSEAL Premium Topcoat 501 in Jade Mist Green using a “slowest brush” reducer and ALEXSEAL’S roll additive. The roll additive allows bubbles in the paint film to pop before the paint tacks up, so the topcoat can be rolled on without the need for tipping off with a brush.
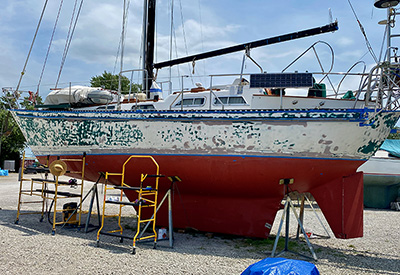
Port side after aggressive sanding is complete.
Pleased with our result on the green stripe we prepared for the larger job of painting the remainder. Having more patience and I daresay more finesse, I was sure I’d be better at it. But, I erred on over-coverage, tending to apply too much product, resulting in runs and sags. As it turned out, the captain had the right touch, loading up the paint roller with just enough product for perfect coverage without excess.
Even if your technique is perfect, an open-air paint job is subject to environmental risk: the sun beating down on the hull, early morning dew, late afternoon rain showers, other boaters throwing clouds of dust in the air as they drive through the marina at speed, as well as other airborne liabilities like the dandelion pappi that landed in the green stripe and the flying insects crash-landing on the just-painted hull.
 After one coat of Matterhorn White, we sanded the entire hull again with 320-grit, flattening out the flaws before applying a second topcoat with improved skill. The finished surface is not the perfection one would accomplish with a professional spray job in a controlled environment, but it’s close. We’re very pleased with the high gloss finish we achieved.
Once all blemishes were filled and faired and the hull had been sanded back to a stable surfce, rinsed and wiped clean, we began applying the primer.
Our topsides makeover is complete and I can tell you I’m greatly relieved. A 42’ boat is 84’ long each time you have to sand her.
Now that our hull is gleaming white, I can’t say we feel any luckier. With all the places Green Ghost has taken us safely, we felt lucky already. With the new look, we’ve been asked several times if we’re planning on changing the boat’s name. “Of course not,” we answer, “Everyone knows that’s bad luck.”
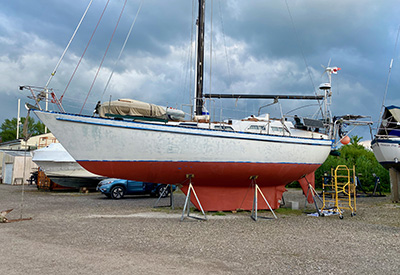
 Above left: Two to three coats of primer were required to achieve a consistent colour.
Above Right: To assist us in seeing where we had sanded the primer to a smooth surface and where we had not, we applied a dry black guide coat
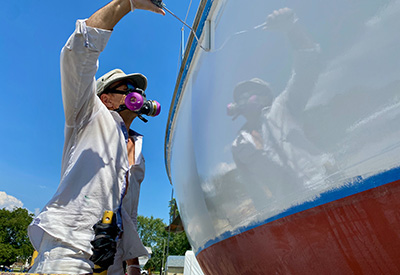
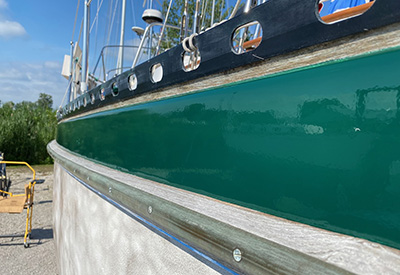
Above Left: the captain had good technique with the roller.
Above Right: We were pleased with the glossy reflective finish we achieved on the green stripe.
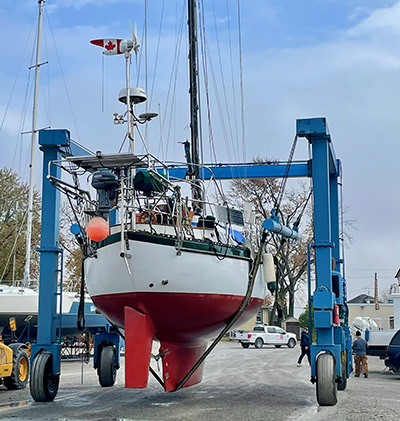
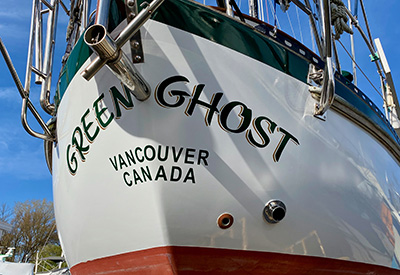 Above: Our Topsides makeover was complete in time for a September launch to test our new engine (the other big project completed in summer 2022).

