Pitoraq – keeping a boat in good order: Part 3
Feb 27, 2020
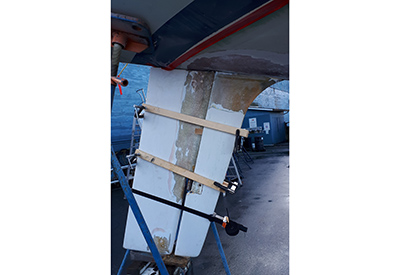
In preparation for permanently fixing the rudder bearings into the hull and deck, I put the rudder in place with the bearings on the stock and shimmed and clamped the rudder to hold it in alignment.
With everything in place, starting with the lower bearing, I bonded the bearing housings with fillets of filled epoxy
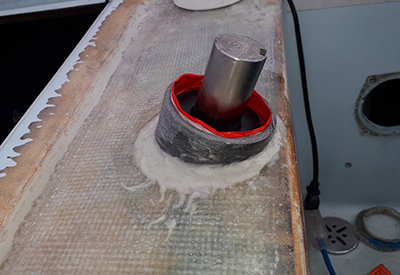
I then built up around them with layers of fiberglass and West System epoxy.
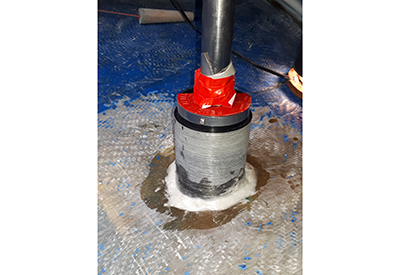
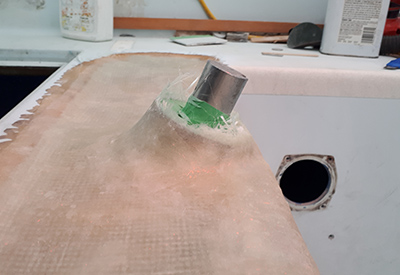
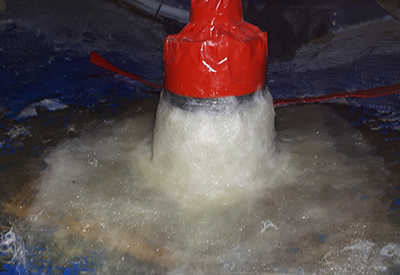
In conjunction with the top bearing installation I also built up the bottom layer of the deck where the soaked core was removed. The next step will be to remove the rudder again and do the repairs to it at home while the deck refinishing continues on site.
One of the problems to be solved by this new rudder bearing set up was to allow the rudder to be removed and bearings replaced without cutting any fiberglass. So, with the rudder in place and bearing housings fixed, taking the rudder out at this point became a test to see if the plan worked.
Here is the new rudder removal procedure. From deck level, pull the top bearing, 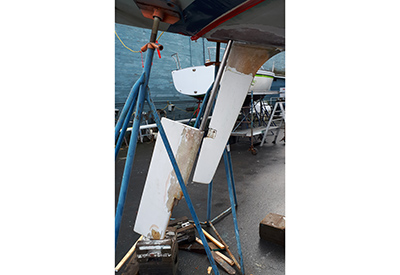
From inside the lazarette, unscrew the bottom bearing and slide it up the shaft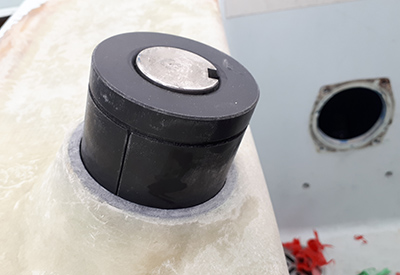
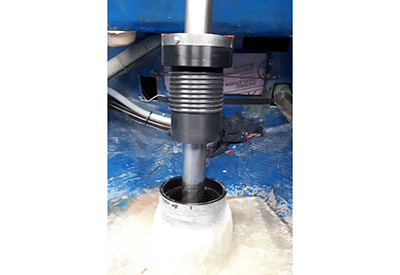
With the skeg bearing out move the bottom of the rudder blade aft, off the step in the skeg and lower it 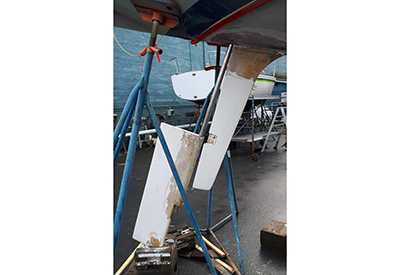
The red plastic thing on the lower bearing is a temporary protector for the lip seal, 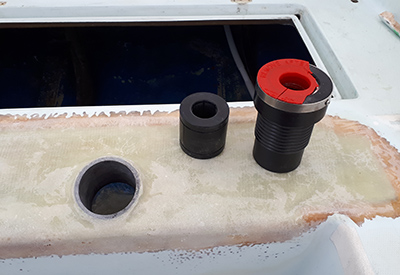
That gets removed after final installation. The lip seal will be replaceable with the boat in the water by pulling just the top bearing and sliding the seal up the shaft and out the top bearing port.
I guess I better save this info in the maintenance log!
