Ask Andrew: Electrical Testing Onboard
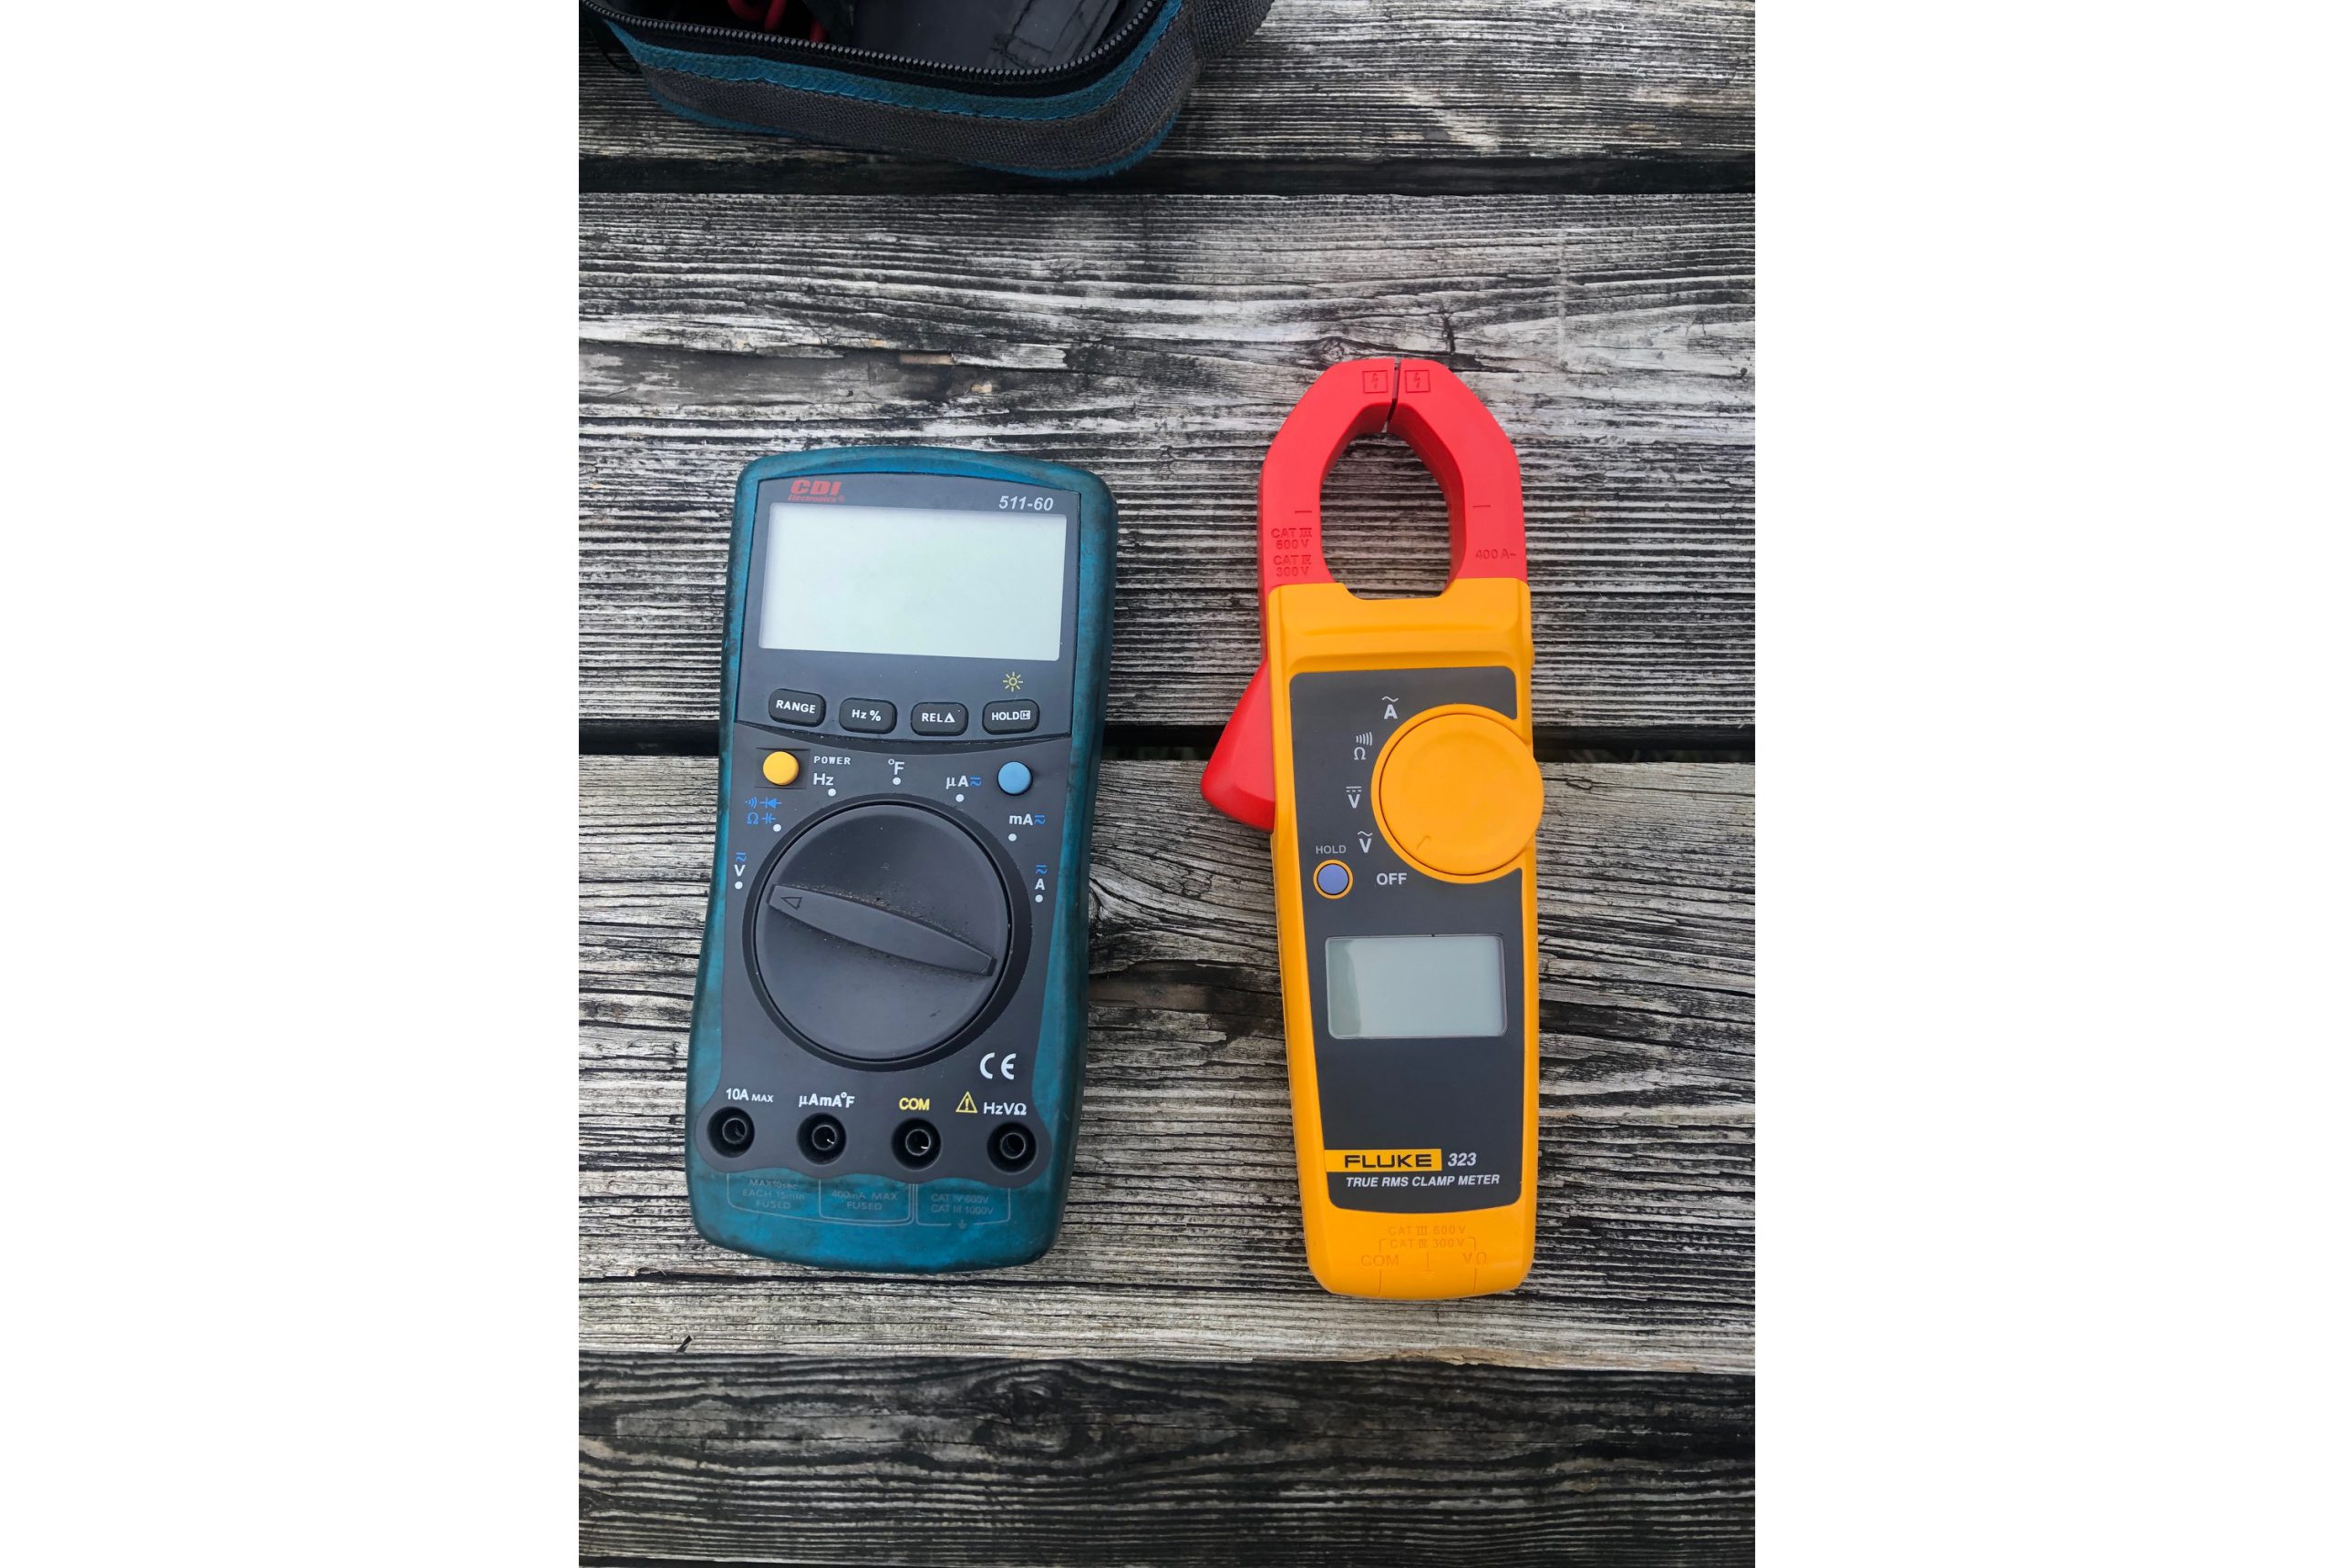
two examples of common digital multimeters
Sept 26, 2023
Big or small, sail or power, gas or diesel, most of the boats that are encountered today have an electrical system onboard. Some are as simple as a pull cord turning over an outboard motor, others are a complex DC/AC panel aboard a cruising yacht. Whatever the case, if there are every any issues with onboard electrical gear, a multimeter is an essential tool to keep aboard. More important than keeping it aboard, is the understanding and the ability to use it effectively.
Understanding your boat’s electrical system (even in theory), and basic use of a multimeter can allow you to:
- Troubleshoot and repair problems when away from shore
- Diagnose problems without having to call in a repair tech
- Take on preventative maintenance tasks more confidently
First – a bit about electrical circuits. For the purpose of this article, we’ll look at DC circuits alone – They’re simpler, and found aboard more commonly.
A DC circuit can be likened to a garden hose running to a sprinkler. The tap allows water to flow through the hose, ending at the sprinkler, where the water is forced through. The Tap is your boat’s battery. The water is electrical current. The hose is the boat’s wiring, and the sprinkler is a ‘resistance’ (this could be a light fixture, a starter motor or a GPS unit: in short, the resistance is whatever the electricity is powering.)
The battery provides the force (voltage) that pushes electricity (current/amperage) through a resistance. In a simple DC circuit, the voltage will remain the same wherever it is measured. The current/amperage will vary depending upon the resistance (an appliance with low resistance – like a light bulb – will require less current that an appliance with a high resistance – like a starter motor.)
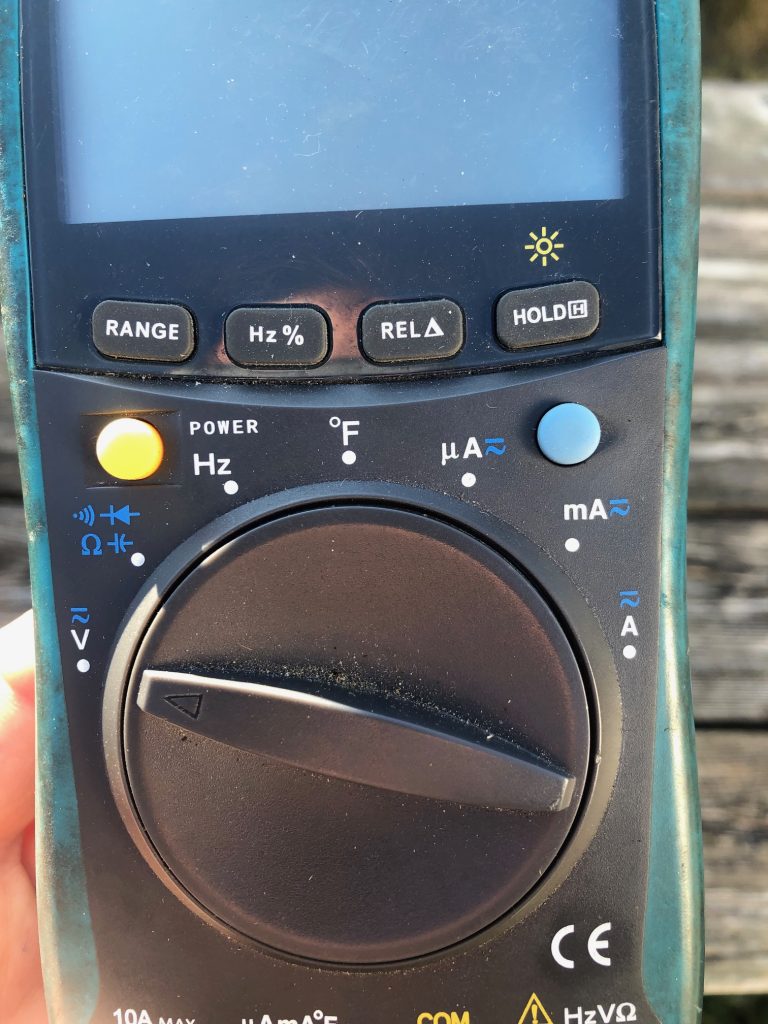
he selector switch of a multimeter showing the options to measure: voltage, ohms, hertz, degrees and amps
A modern digital multimeter is designed to measure each of these. It can measure voltage (in volts) current flow (in amps) and resistance (in ohms.)
Here are a few practical ways that this can be applied aboard your boat.
- An incandescent light fixture doesn’t turn on.
First – test the boat’s battery voltage to ensure that power is available. The multimeter’s red lead should be placed on the positive terminal, and the black lead placed on the negative terminal. The DC voltage reading should be selected. The battery should read somewhere between 12 and 14 volts.
Next – confirm that battery switches, breakers and/or fuses allow current to flow to the light fixture. Assuming that there’s no obvious barrier, test the voltage at the light bulb (you’ve already tested voltage at the source – the same voltage should be seen at the appliance). Place the red multimeter lead where the base of the bulb sits in the fixture. Place the black lead on the casing that holds the bulb. The reading should be the same as battery voltage. If there is no voltage seen, it means that there is a break in the circuit somewhere and power is not arriving at the light fixture.
If battery voltage is present and light still doesn’t work, test the bulb using the ohms setting on the multimeter. The bulb itself is creating a resistance in the circuit and this can be measured. Place the red lead on the base of the light bulb, and the black lead on the metal side that sits in the casing. There should be an ohms reading showing on your multimeter. If the meter shows OL (Over Limit) this means that there is a break within the bulb and it won’t provide a resistance. Replace the bulb and the light should work!
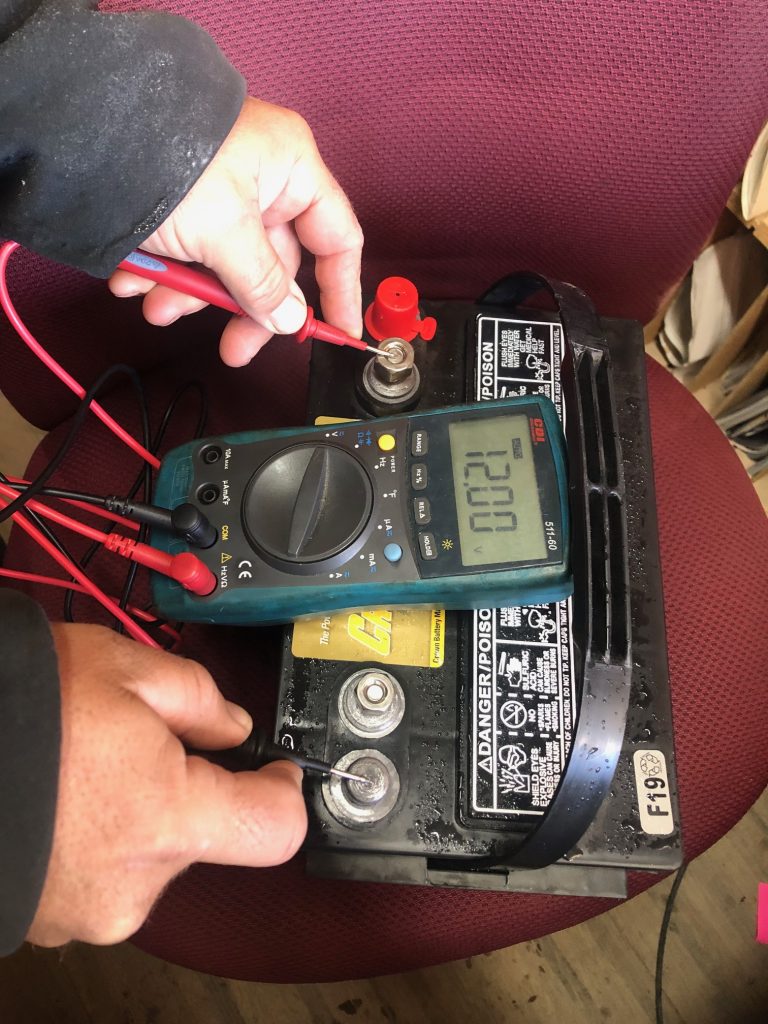
measuring battery voltage
- The bilge pump stopped working
First – as before, test the boat’s battery voltage to ensure that power is available. The battery should read somewhere between 12 and 14 volts.
Next – test at the negative and positive wires at the bilge pump to see if voltage is present. This may mean probing inside the wires outer sheathing, or may mean cutting the wiring (meaning that you’ll need to add a butt connector once testing is done) to allow you to test. Test the for voltage by placing the red lead on the positive wire (brown), and the black lead on the negative wire (black). You should read battery voltage. If no voltage is shown, check the wiring, fuses and breakers between the battery and the bilge pump. If voltage is seen, but the pump doesn’t operate, check for a blockage in the pump, or evidence of overheating/melting. Repair/replace as necessary.
- You can’t tell if your battery charger or alternator is working.
First – test the battery at rest using the DC Voltage setting on your multimeter. A charged and healthy battery will read 12.6V. Record that reading and turn the boat’s battery charger on. Ensure that it engages and is operating correctly. Test the battery again using the multimeter’s voltage setting. It should read 13-14V.
The same can be done with the engine’s alternator: Test the battery at rest, as in the first example. Turn the boat’s engine on and test the battery’s voltage again – the battery should read 13-14.5V with the engine running.
These are just some simple examples; there are a myriad of uses for a multimeter aboard – from trailer wiring to ignition and starting issues. In addition, there are many resources, articles and videos available online to learn more.

Andrew McDonald is the owner of Lakeside Marine Services – a boat repair/maintenance firm based in Toronto. Andrew has worked in the marine industry for 12 years and is a graduate of the Georgian College ‘Mechanical Techniques – Marine Engine Mechanic’ program.