New gear: Speedy Wireless Trailer Lights
Sept 8, 2022
More than 3/4 of all recreational boats (power and sail) are under 26 feet and towable.
Trailer lights have hardly changed in 100 years; the wiring is time-consuming to install and not very reliable. A perfect target for wireless innovation.
Ten years ago, SailTimer Inc. made the first-ever sailboat wind sensor that could transmit to smartphones/apps. Now we are moving some of the same wireless and sensing technology into DOT-approved LED trailer lights.
Installation
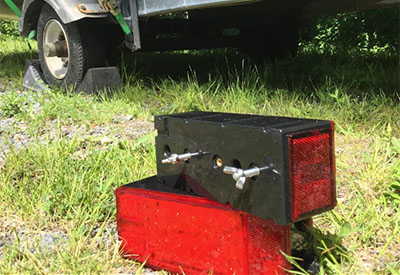
Just attach the left and right lights to the back of the trailer, and they’ll flash all turn signals, brake lights and taillights while you are right there; no going back and forth to turn on different switches. They even come with wing nuts and lock washers so that you can quickly and easily put them on the trailer with no tools.
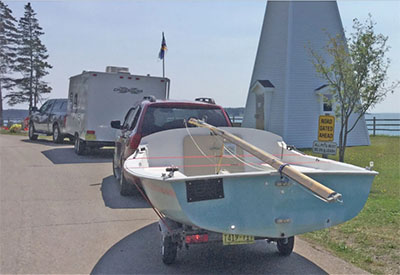 No need to dismantle your vehicle tail lights and wiring. No adapter to buy. No more deciphering large numbers of wires in your vehicle tail lights to connect to four wires on a trailer connector or transmitter. As we enter the era of electric cars and autonomous navigation, you do not need to connect any wires at all with these smart trailer lights.
These are not magnetic taillights that bounce off the back of your trailer. With Speedy Trailer Lights you get 1/4″ stainless steel bolts through the case that securely attach to 2 holes on the back of your trailer. These cannot bounce off, guaranteed.
There is a carbon-fiber battery pack inside the left and right lights, with the same type of rechargeable lithium battery cells as in many laptops and electric cars. The replaceable battery pack provides an estimated 30 hours of typical use between charges.
 Sail Timer uses the same motion sensors used in the wireless SailTimer Wind Instrument for a decade. These IMU sensors (Inertial Motion Unit with digital gyro and accelerometer) are also used in fighter jets to provide high precision orientation data.
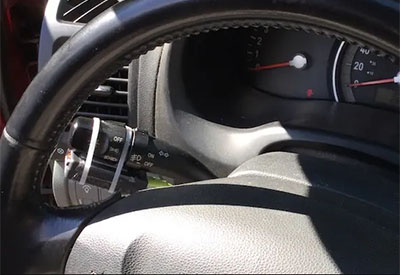
In the vehicle, use zip ties/velcro to attach one sensor to the turn signal (as shown below) and the other to the back of the brake pedal. Plug those into the power or OBD socket with the included connectors, and you are ready to go.

